
Backlit images are a fascinating photography technique that uses light coming from behind the subject to create stunning visual effects. This method can transform ordinary scenes into artistic masterpieces by adding depth, drama, and a sense of storytelling. Whether you’re aiming to capture silhouettes against a sunset or produce ethereal glows around a subject, backlit images provide versatile and striking results for photographers.
Key aspects of backlit images:
As someone deeply involved in the print industry, I have seen first-hand how the use of backlit images in posters and displays can make them pop. I’m Brett Henrichsen, and my journey in large format printing has taught me a lot about capturing and utilizing the perfect backlit image to improve visual impact.

Backlit images definitions:
– backlit film poster
– duratrans material
– how to print on backlit film
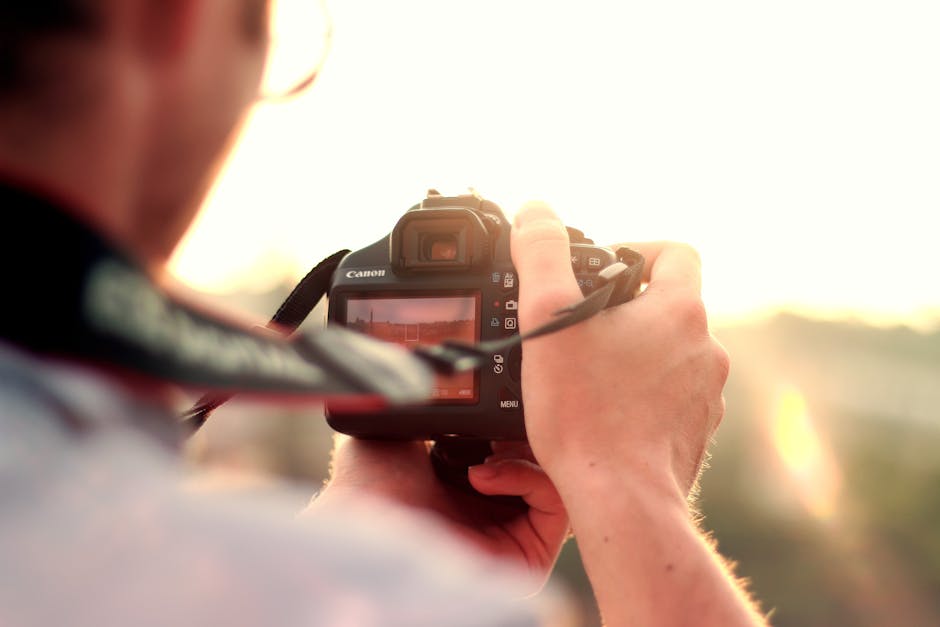
Backlighting is a technique where the primary light source is positioned behind the subject. This setup creates a captivating glow and often results in a silhouette effect. Unlike frontlighting, which illuminates the subject evenly, backlighting adds drama and depth, making images more dynamic.
The light source is the star of backlit photography. It could be the sun, a lamp, or any other bright object. The key is its position—behind the subject. This placement allows the light to wrap around the edges, creating a halo or rim lighting effect.
Silhouette Effect
One of the most striking effects of backlighting is the silhouette. When the subject blocks the light, it appears as a dark shape against a brighter background. This effect is often used during sunrise or sunset to capture stunning profiles or landscapes.
Backlit images are not just about creating silhouettes. They can also emphasize textures and details in a scene. For instance, backlighting can highlight the intricate patterns of leaves or the delicate feathers of a bird, adding a cinematic quality to the photograph.
Incorporating backlighting in your photography can transform a simple scene into something extraordinary, providing a unique storytelling element that captures the viewer’s imagination.
Capturing backlit images can be a game-changer for your photography. Here are some essential tips to make the most out of this technique.
Getting the right camera settings is crucial for backlit photography. Start by switching to manual mode. This gives you full control over exposure and focus.
The time of day can significantly impact the quality of your backlit images. Early mornings and late afternoons are ideal for capturing stunning backlit photos.
Experimenting with angles and positions can lead to more creative and dynamic backlit images.
By mastering these tips, you’ll be well on your way to capturing stunning backlit images that stand out. Next, we’ll dive into the common challenges photographers face with backlit photography and how to overcome them.
Backlit photography can be both rewarding and challenging. Here are some common problems photographers face and how to tackle them effectively.
A challenge in capturing backlit images is managing exposure. The bright light source behind your subject can easily lead to overexposed backgrounds or underexposed subjects.
Achieving the right balance between the background light and your subject is crucial. Without it, your photos might lack the desired impact.
Rim lighting is a technique that highlights the edges of your subject, creating a glowing outline. It’s a beautiful effect but can be tricky to master.
By understanding and addressing these challenges, you can lift your backlit photography to new heights. Up next, we’ll answer some frequently asked questions about backlit images to further improve your skills.
A backlit photo is one where the main light source is positioned behind the subject. This setup creates a striking effect, often resulting in a silhouette or a halo glow around the subject. The key to a successful backlit image is balancing light and exposure to highlight the subject without losing detail in the background.
To identify a backlit photo, look for these signs:
Capturing stunning backlit photos involves a few key techniques and camera settings:
By mastering these techniques, you’ll be well on your way to capturing breathtaking backlit images. In the next section, we’ll explore more about the art of backlit photography and how you can apply these insights to your work.
Backlit photography offers a unique and captivating way to improve your images. Whether you’re a seasoned photographer or just starting out, understanding how to harness backlighting can take your work to new heights.
At Posterprintshop, we understand the art and science behind backlit images. We specialize in custom printing that brings out the best in your photos. Our high-quality prints ensure that your backlit images are vibrant and detailed, making them perfect for any display, from home decor to professional presentations.
Our commitment to high quality means using the best materials and printing techniques. We offer a range of customizable options to suit your needs, ensuring that your images look their best. Plus, with our fast turnaround times, you can enjoy your stunning backlit prints without the wait.
Whether you’re looking to create a dramatic silhouette or capture the soft glow of a halo effect, Posterprintshop is here to help you achieve your vision. Ready to transform your backlit images into eye-catching prints? Explore our backlit film printing options and see how we can bring your photos to life.
Great photography is all about experimenting and finding what works best for you. So grab your camera, play with the light, and let your creativity shine!