
Enlarge a printed photo and find a captivating way to preserve memories, whether for special occasions, cherished moments, or business needs. If you’re in a hurry, here’s a quick how-to:
We all have snapshots that bring back great memories or represent key milestones. Having those photos live only on a small scale is a missed opportunity to improve your space or event. With the right tools and techniques, changing these memories into stunning enlarged prints is both easy and rewarding.
My name is Brett Henrichsen, and I’ve spent over 20 years in the large format printing industry with Posterprintshop. From my experiences as a systems engineer at IBM and an entrepreneur, I have helped countless people successfully enlarge a printed photo to preserve memories and lift their visual storytelling.

Terms related to enlarge a printed photo:
– how can i enlarge a photo without losing quality
– blowing up a picture
– improve and enlarge image
When you’re looking to enlarge a printed photo, understanding the basics is crucial. Let’s start with DPI, resolution, and how they impact image quality.
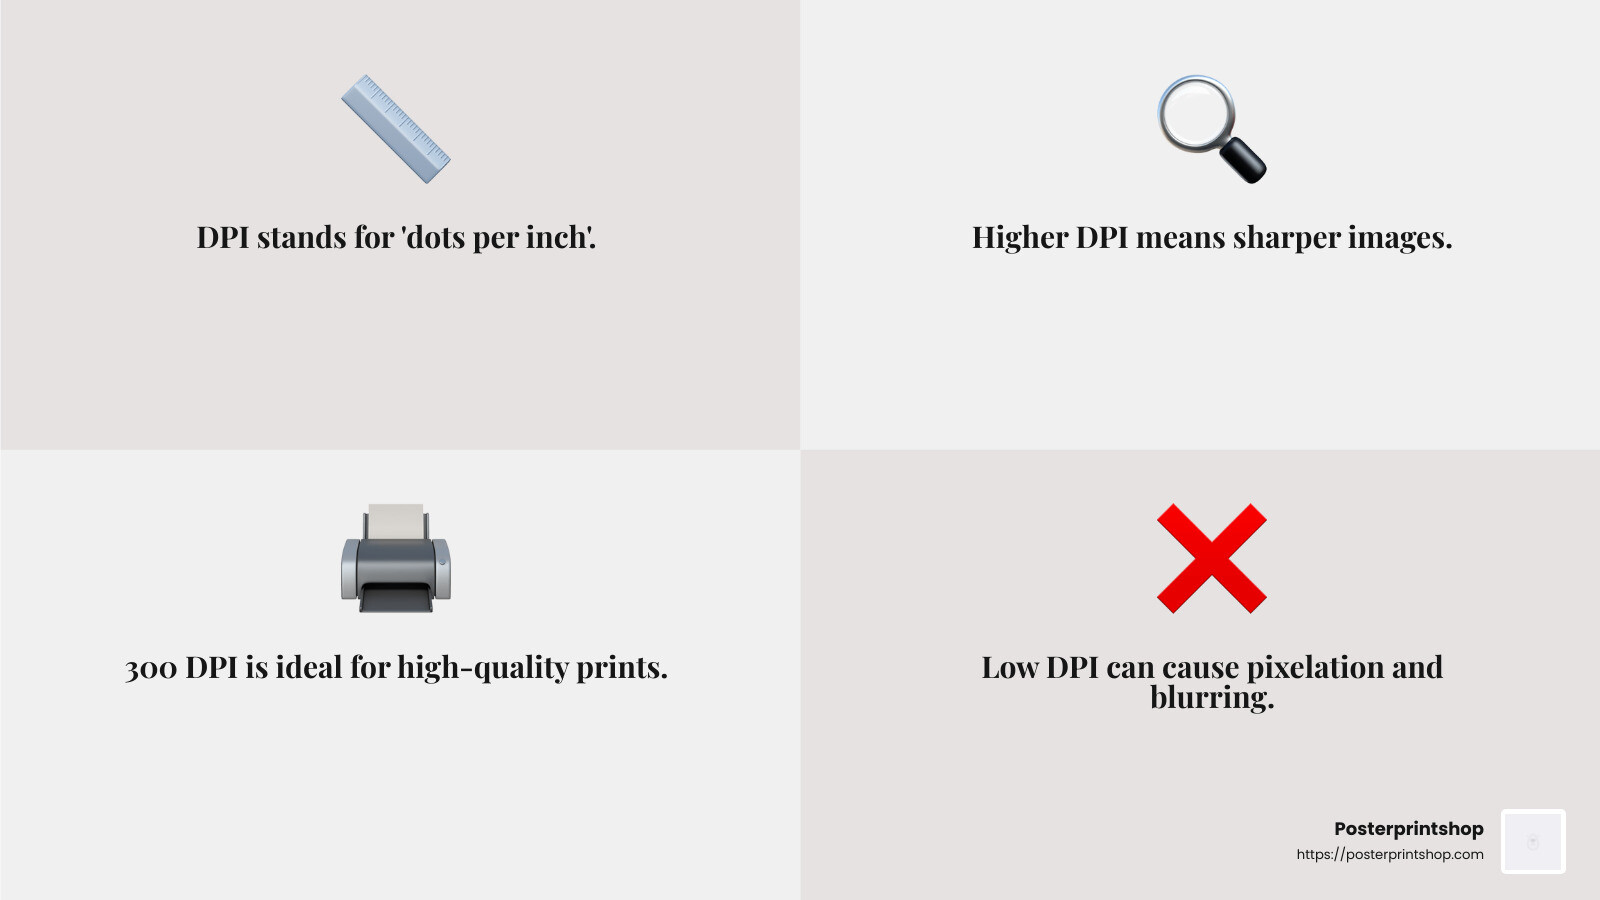
DPI, or dots per inch, is a key factor in photo enlargement. It tells you how many dots of ink a printer can place within an inch. The higher the DPI, the sharper and more detailed your photo will be. For high-quality prints, aim for at least 300 DPI. This ensures that your enlarged photo won’t become pixelated or blurry.
Knowing your photo’s DPI is the first step to a successful enlargement. Here’s how you can check it:
Use photo editing tools: Software like Adobe Photoshop or Lightroom can help you find and adjust your photo’s DPI. Open your image and go to Image > Image Size to view its current DPI.
Resolution settings: On an iPhone, you can check the resolution by opening the Photos app, selecting a photo, and swiping up or tapping the ‘Info’ button. This will show details like “12 MP” and “4032 x 3024”, helping you understand the pixel dimensions.
Online tools: Some websites offer tools to check and adjust your photo’s DPI. These can be useful if you don’t have access to professional software.
Resolution is about the number of pixels in your image. More pixels mean more detail, which is crucial when enlarging a photo. A higher resolution results in a clearer and more detailed image.
To maintain quality when enlarging:
By mastering DPI and resolution, you can ensure your enlarged photos maintain clarity and quality, making them perfect for display.
Next, we’ll explore the methods to enlarge your printed photos, including scanning and digital photography techniques.
Enlarging a printed photo involves changing it from its physical form into a digital file. This allows for adjustments and improvements to maintain quality when printed larger. Let’s explore two primary methods: scanning and capturing digital photos.
Scanning is a reliable way to convert printed photos into high-quality digital files. Here’s how to do it effectively:
Use a Quality Scanner: Invest in a scanner that supports at least 300 DPI. This resolution is key for capturing all the details and ensuring your enlarged photo remains sharp and clear.
Scanner Settings: Before scanning, adjust the settings to 300 DPI or higher. This will provide a detailed digital file that can withstand enlargement without losing quality.
Create a Digital File: Once scanned, save your photo as a high-resolution file, such as a TIFF or PNG. These formats preserve image quality better than JPEGs.
Scanning transforms your cherished printed photos into digital files, ready for editing and enlargement.
If you don’t have a scanner, you can use a digital camera or smartphone to photograph your printed photo. Here’s how to get the best results:
Lighting: Ensure your photo is evenly lit to avoid shadows and glare. Natural light is ideal, but a well-placed lamp can also work.
Focus: Use your camera’s autofocus or manual focus to ensure the photo is sharp. A blurry capture will result in a poor-quality enlargement.
Composition: Position your camera directly above the photo to avoid distortion. A tripod can help keep the camera steady and aligned.
Once captured, you can use photo editing software to improve the digital image. Adobe Photoshop is a popular choice, offering tools to adjust brightness, contrast, and resolution. If you’re new to editing, consider online tools that offer user-friendly interfaces for basic adjustments.
By using these methods, you can successfully enlarge your printed photos, preserving their quality and detail. Next, we’ll dig into the tools and techniques for enhancing these digital files, ensuring they look stunning when printed.
When it comes to enlarging photos, using the right tools and techniques is crucial to ensure the final image is sharp and clear. Two main approaches can help you achieve this: photo editing software and online tools. Both offer unique features to improve your images, whether you’re a beginner or a seasoned pro.
Photo editing software provides powerful tools for enlarging and enhancing your photos. One of the most popular options is Adobe Photoshop. Here’s how you can use it to resize and sharpen your images:
Resizing: Open your photo in Photoshop and steer to Image > Image Size. Here, you can adjust the dimensions and resolution. Set the resolution to 300 DPI for high-quality enlargements. Remember to check the “Resample” box to allow Photoshop to add pixels and maintain quality.
Sharpening: After resizing, your photo might need a little sharpening. Use the Unsharp Mask filter under Filter > Sharpen to improve details. Adjust the settings until your image looks crisp without overdoing it.
While Photoshop is a powerful tool, it can be complex for beginners. Thankfully, there are simpler alternatives.
If you’re looking for a more straightforward approach, online tools like Fotor offer user-friendly interfaces and powerful features. Here’s what you can expect:
Many online platforms offer free tools for photo enlargement, making it accessible for everyone. These tools often include basic resizing options and some improvement features, perfect for casual users or those on a budget.
By using these tools and techniques, you can enlarge a printed photo without sacrificing quality. Whether you choose professional software like Photoshop or convenient online tools, you’ll be able to transform your digital images into stunning prints. Next, we’ll explore the best practices for printing your enlarged photos, ensuring they look their absolute best.
Once you’ve successfully enlarged a printed photo, the next step is to ensure your prints look as stunning as possible. This involves selecting the right paper, finish, and display options to showcase your work beautifully.
The choice of paper and finish can significantly affect the final appearance of your enlarged photo. Here’s what you need to consider:
Glossy Paper: This finish is shiny and vibrant, making colors pop. It’s ideal for images with lots of detail and color contrast. However, it can show fingerprints and glare under certain lighting conditions.
Matte Paper: Matte finishes offer a non-reflective surface, making them perfect for photos displayed under bright lights. They give a more subdued, professional look, ideal for black and white photos or softer tones.
Premium Options: For those looking to make a statement, premium paper options like satin or metallic finishes can add a unique touch. Satin provides a balance between glossy and matte, offering vivid colors without the high shine. Metallic finishes give a pearlescent effect, adding depth and dimension to your photos.
Choosing the right paper and finish is crucial for ensuring your enlarged photo maintains its quality and appeal.
Once printed, you’ll want to display your enlarged photos in a way that complements their beauty. Consider these options:
Frames: A classic choice, frames protect your photo and add a polished look. Choose frames that match the photo’s style and the room’s decor. Consider using matting to create a border that improves the image.
Wall Decor: For a modern touch, consider mounting your photo on a canvas or using photo blocks. These options allow the image to stand out and become a focal point in your room.
Gallery Setups: If you have multiple enlarged photos, a gallery setup can create an impressive visual display. Arrange your photos in a grid or staggered pattern for a dynamic look. This setup works well in hallways or large wall spaces.
By carefully selecting the right paper, finish, and display method, you can ensure your enlarged photo not only looks great but also becomes a cherished part of your home or office decor. These choices will help your image shine and preserve your memories for years to come.
Yes, you can enlarge a printed photo without sacrificing quality, but it requires careful attention to detail. The key is understanding resolution and DPI (dots per inch). Higher DPI values mean more detail and less pixelation. For best results, aim for a DPI of at least 300 when enlarging photos. This ensures clarity and sharpness.
When working with low-resolution images, consider using photo editing software. Tools such as the “Resample” option can help increase resolution, but be cautious—this can sometimes lead to blurriness. For professional results, you might want to use specialized software or services that employ AI technology to improve resolution without degrading quality.
The best method to enlarge a printed photo depends on the original format. If you have a physical photo, start by scanning it at a high resolution, ideally 300 DPI or more. This creates a digital file that can be edited and enlarged.
For digital photos, ensure your image is of high resolution before enlarging. Use photo editing software to resize the image, maintaining the aspect ratio to avoid distortion. Online tools like AI enlargers can also be helpful for increasing size while preserving quality.
To ensure your enlarged photo looks its best, follow these steps:
Quality Settings: Use high-resolution images and set your printer to the best quality settings available. This often involves selecting the correct media type and print resolution.
Paper Choice: Choose the right paper for your photo. Glossy paper highlights vibrant colors, while matte paper offers a professional, non-reflective finish. For a unique touch, consider premium options like satin or metallic finishes.
Display Methods: Think about how you will display your photo. Frames offer protection and a polished look. Canvas mounts or photo blocks provide a modern aesthetic. For multiple photos, consider a gallery setup to create a cohesive display.
By focusing on these elements, your enlarged photo will not only look great but also stand the test of time, becoming a cherished part of your decor.
Enlarging photos is more than just a technical process—it’s about preserving memories and bringing them to life in a big way. At Posterprintshop, we understand the importance of capturing those precious moments with the highest quality prints possible.
Our services are designed to make the process of enlarging and printing photos seamless and efficient. With our expertise in custom poster printing, we ensure that every detail, color, and nuance of your photos is preserved. Whether you’re looking to create a stunning wall display or a unique gift, our high-quality materials and advanced printing technology guarantee exceptional results.
Preserving Memories with High-Quality Prints
We know that your photos hold sentimental value, and that’s why we use only the best inks and media to bring them to life. Our commitment to quality ensures that your enlarged photos remain vibrant and detailed for years to come. Plus, with our fast turnaround times, you won’t have to wait long to see your memories transformed into beautiful prints.
If you’re ready to transform your photos into stunning prints, explore our photo enlargements services today. Let us help you preserve your memories in the most beautiful way possible.
By choosing Posterprintshop, you’re not just getting a print—you’re investing in a piece of art that captures the essence of your special moments. Trust us to deliver the quality and service you deserve, and see the difference that expert printing can make.