Enlarge with Ease: Photoshop Techniques for Perfect Photo Enlargement
Erica Gabriel
Publication date: 02/01/2025
Enlarge with Ease: Photoshop Techniques for Perfect Photo Enlargement
How to enlarge photo in photoshop is a common question for anyone looking to improve the quality of their images. If you need a quick answer, follow these simple steps:
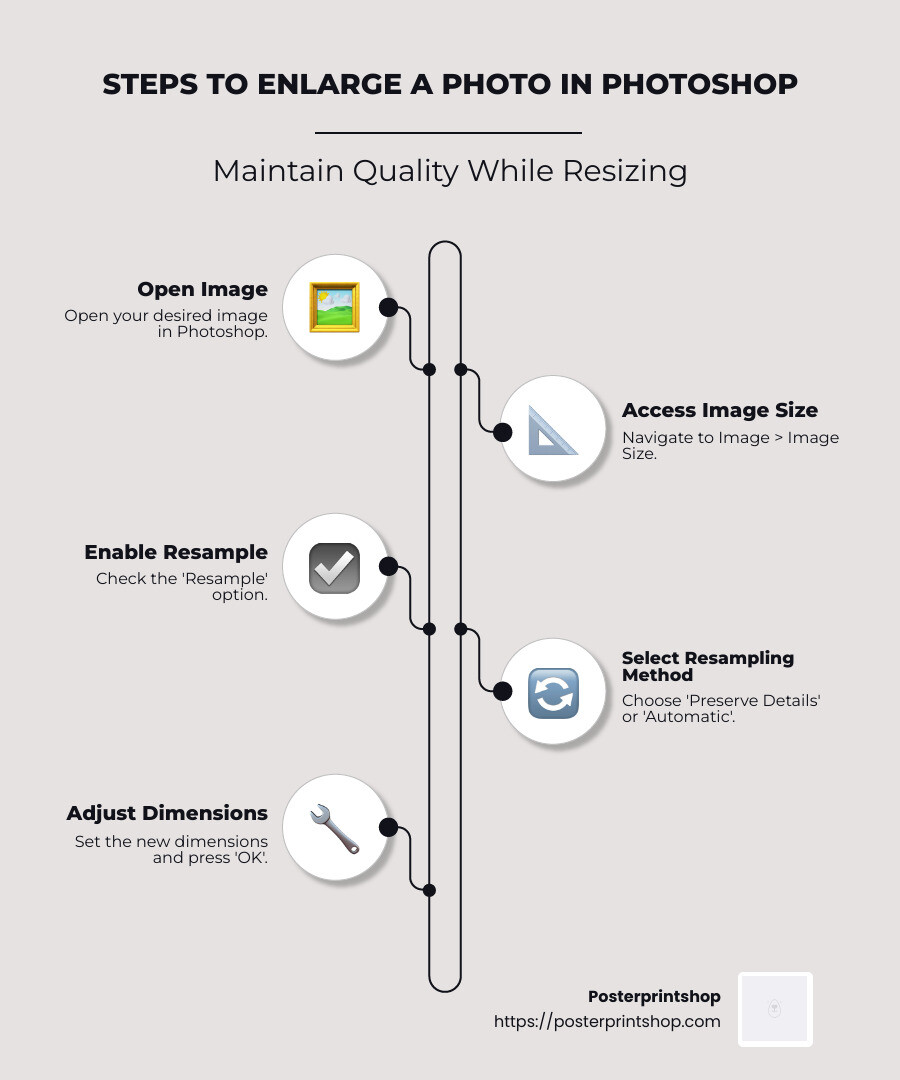
Open your image in Photoshop.
Go to Image > Image Size.
Check the “Resample” option.
Choose “Preserve Details” or “Automatic” from the dropdown menu.
Adjust the dimensions as needed and click “OK”.
When it comes to making your images larger without losing quality, Photoshop offers powerful tools and techniques to help you achieve the perfect look. From the trusty Image Size dialog to the innovative Super Resolution feature, you’ll have all the options you need at your fingertips. This ensures that your image not only fits the desired dimensions but also maintains its clarity and detail.
I’m Erica Gabriel and I’ve spent years working closely with Photoshop to provide high-quality enlargements for a variety of clients. Whether it’s fine-tuning an image for custom posters or enhancing the sharpness of a photograph, I understand the ins and outs of how to enlarge photo in photoshop effectively.
How to Enlarge Photo in Photoshop
Using Image Size
The Image Size dialog in Photoshop is a classic tool for resizing images. It’s straightforward and offers various options to ensure your image maintains its quality while becoming larger.
Open your image in Photoshop.
Steer to Image > Image Size. This opens the Image Size dialog box, where you can adjust the dimensions of your image.
Constrain Proportions: To keep the original ratio of width to height, make sure the Constrain Proportions box is checked. This prevents distortion by resizing the image evenly.
Dimensions and Resample: Enter the desired dimensions for width and height. Ensure the Resample option is selected, allowing Photoshop to add or remove pixels as needed. Choose “Preserve Details” for the best results.
Resolution: Adjust the resolution if necessary. A higher resolution can improve print quality but may increase file size.
Once satisfied, click “OK” to apply the changes.
Utilizing Super Resolution
For those looking to push the boundaries of enlargement, Photoshop’s Super Resolution feature is a game-changer. Introduced as part of Adobe Camera Raw, it uses Adobe Sensei AI to intelligently upscale images.
Open Adobe Camera Raw: Access your image through Photoshop or Lightroom, and open it in Adobe Camera Raw.
Improve with Super Resolution: Right-click on the image and select “Improve.” Check the “Super Resolution” box. This process uses AI to double the resolution of both the width and height, resulting in an image with four times the number of pixels.
Save the Improved Image: Click “Improve,” and Adobe Sensei AI will work its magic. The new, larger image will be saved with a DNG extension, maintaining the original quality while significantly increasing size.
Super Resolution is particularly useful for images that need to be printed in large formats or when high detail is crucial. It’s a testament to how advanced technology can make image enlargement easier and more effective than ever before.
By utilizing both the Image Size dialog and Super Resolution, you can ensure your images are not only larger but also retain their sharpness and detail. Whether you’re preparing a custom poster or enhancing a digital photograph, these tools offer everything you need to achieve professional results.
Maintaining Quality While Enlarging
When you enlarge a photo in Photoshop, maintaining image quality is key. This involves choosing the right resampling techniques and enhancing sharpness effectively. Let’s explore how to do this.
Resampling Techniques
Resampling is the process of adding or removing pixels to change the image size. Photoshop offers several resampling options, each suited for different needs.
Preserve Details 2.0: This is the go-to choice for enlarging images. It’s an AI-powered option available in newer Photoshop versions. It excels in retaining details and minimizing noise. If you have access to this, definitely give it a try.
Bicubic Smoother: Ideal for enlarging images where smooth transitions between colors are a priority. It provides a softer enlargement, which can be beneficial for certain types of photos.
Automatic Resampling: Photoshop can automatically choose the best resampling method based on your image. This is a good starting point if you’re unsure which option to pick.
Enhancing Image Sharpness
Enlarging an image can sometimes result in a loss of sharpness. Fortunately, Photoshop offers several tools to bring back that clarity.
Unsharp Mask: A classic tool for enhancing sharpness. It works by increasing the contrast along the edges in your image, making it appear crisper. You can find it under Filter > Sharpen > Unsharp Mask.
Sharpening Filters: Besides Unsharp Mask, there are other filters like Smart Sharpen that allow for more control over the sharpening process. These filters can help you fine-tune the sharpness to your liking.
By mastering these techniques, you can enlarge images while keeping them sharp and detailed. Whether you’re preparing images for large prints or enhancing digital photos, these methods ensure high-quality results.
Advanced Techniques for Enlarging Images
When it comes to enlarging images in Photoshop, advanced techniques can make a significant difference in maintaining quality. Let’s explore some innovative methods that leverage Adobe’s powerful tools and features.
Adobe Camera Raw Improvements
Adobe Camera Raw is a game-changer for enhancing and enlarging images. It offers the Super Resolution feature, which uses AI technology to intelligently add pixels, making your images larger and sharper without losing detail. This feature quadruples the pixel count, essentially doubling both the width and height of your image.
AI Improvements: Adobe Sensei AI powers the Super Resolution feature, ensuring that the new pixels blend seamlessly with the existing ones. This results in a smooth and natural enlargement, perfect for high-quality prints.
Pixel Generation: By generating new pixels intelligently, Super Resolution maintains the texture and clarity of the original image, making it ideal for professional use.
To use Super Resolution, open your image in Camera Raw, right-click, and select “Improve.” Check the Super Resolution box, and let Adobe’s AI do the rest. Once processed, your improved image will be ready for further editing or printing.
Using Layers and Smart Objects
Layers and Smart Objects in Photoshop offer flexibility and precision when enlarging images.
Smart Objects: Convert your image to a Smart Object before enlargement. This allows you to resize without losing quality, as Smart Objects maintain the original data. You can do this by right-clicking on your layer and selecting “Convert to Smart Object.”
Layer Styles: Use layer styles to add effects and adjustments without altering the original image. This non-destructive approach ensures you can experiment with different improvements without worrying about permanent changes.
By combining these advanced techniques, you can achieve seamless and high-quality enlargements. Whether you’re using AI-powered tools like Super Resolution or leveraging the flexibility of Smart Objects, Photoshop provides a robust set of features to improve your images.
Continue exploring these tools and techniques to master the art of image enlargement in Photoshop, ensuring your photos look stunning at any size.
Frequently Asked Questions about Enlarging Photos in Photoshop
How do I make an image bigger in Photoshop?
To make an image bigger in Photoshop, you can use the Image Size dialog. Here’s a simple step-by-step:
Open your image in Photoshop.
Go to Image > Image Size from the top menu.
Ensure the Constrain Proportions box is checked. This keeps your image from getting stretched or squished.
Enter your desired dimensions in the width and height fields. You can choose units like pixels or inches.
Click OK to apply the changes.
By following these steps, you can enlarge your image while keeping its original proportions intact.
How do I enlarge and sharpen an image in Photoshop?
When you enlarge an image, it might lose some sharpness. To fix this, use the following techniques:
Enlarge the Image: Use the steps mentioned above to increase the size.
Apply Sharpening: After resizing, go to Filter > Sharpen > Unsharp Mask.
Adjust the sliders to improve the sharpness. The Amount slider controls the strength, Radius affects the size of the details, and Threshold determines how much contrast is needed for sharpening.
Experiment with Other Filters: You can also try other sharpening filters like Smart Sharpen for more control over the process.
These steps will help you enlarge and sharpen your image effectively.
How do I make an object look bigger in Photoshop?
To make an object within your image appear larger, use the Transform tool:
Select the Object: Use a selection tool to highlight the object you want to enlarge.
Transform: Press Ctrl + T (Cmd + T on Mac) or go to Edit > Free Transform.
Resize: Drag the corners of the transform box while holding the Shift key to maintain the aspect ratio.
Apply Changes: Release the mouse button and press Enter to apply the change.
Using the Transform tool, you can focus on enlarging specific parts of your image for a dramatic effect.
These techniques provide a straightforward approach to enlarging photos and objects in Photoshop, ensuring high-quality results every time.
Conclusion
At Posterprintshop, we understand the importance of changing your cherished memories into stunning prints. Whether you’re looking to create a large-format poster for your living room or an eye-catching piece for your office, our custom poster printing services ensure high-quality enlargements every time.
Why choose Posterprintshop for your photo enlargements?
High Quality: We use state-of-the-art printing technology to deliver sharp, vibrant, and true-to-life images. Our commitment to high resolution means your prints will look fantastic, whether they’re small keepsakes or large wall art.
Fast Turnaround: We know timing is crucial. That’s why we offer quick and efficient printing services without compromising on quality. You can count on us to deliver your prints on time, every time.
Custom Solutions: Every project is unique. We offer a range of customization options to suit your specific needs, from different paper types to various sizes. We provide the flexibility to make your vision a reality.
By following our detailed guides on how to enlarge photos in Photoshop, you can confidently prepare your images for printing. Our techniques ensure that your images maintain their quality, even when resized to larger dimensions. For more information on our services and to begin changing your photos into stunning prints, visit our photo enlargements page today.
Trust Posterprintshop to bring your images to life with clarity, color, and detail. Let us help you create beautiful prints that you’ll cherish for years to come.
Upload files without a wizard or quality check to enter an order quickly. Best for experienced customers and designers only.
How do I create an account?
You create an account when you place your first order. During the first step of the checkout page, you’ll see an option to “save your order” and create an account with a password. This will create your account for future use and save your new order to the account.
Attention
You’re not able to create an account before placing your first order, as an account is not needed until there is an order to go with it.